Staff Module
Use this module to add or edit staff members on the Staff (or Meet the Team) Page.
Note: This module was launched in Q3 2017, after which time every site built will have the module installed by default. Though some older sites have had staff page content migrated to the module, the majority of the sites built before Q3 2017 will not have the module installed. To check if a specific site has the staff module available, refer to the Site Specs section of the Project Overview in the Dashboard. This entry is only applicable for sites with the Staff Module active.
Preliminary Staff Page Set-Up
Before this module can be used, Development must build/publish the Staff Page in the iMarket CMS and enable the module. Open a ticket to Development if this page does not exist yet and/or if the module is not enabled.
Styling
At this time, the Staff page does not use custom styling provided by the Design team. However, the Developer may make small tweaks to the default styling to better suit the overall site design at the time of building the staff page.
What Can I Add?
Staff Members (Employees)
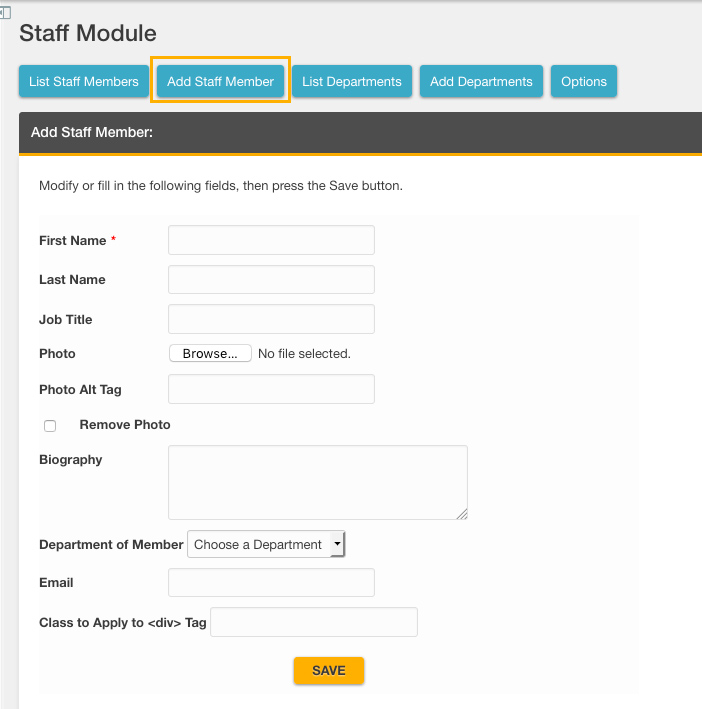
Click the “Add Staff Member” tab to add an employee. You can add the following information for each employee:
- First Name – Required
- Last Name
- Job Title
- Photo
- To Remove a Photo: Check the “remove photo” box and “save” to delete the employee photo completely. Note: you do not need to delete the existing photo in order to upload a new one.
- To Crop a Photo: When you select a photo for uploading you will have the option to crop it. The dimensions the cropping tool is set to will have been configured ahead of time by Development to match the size on the Staff page. Note: you do not need to crop the photo if it already has the appropriate dimensions.
- Photo Alt Tag (A short description of the photo, for use by SEO)
- Biography
- Department of Member (Employee’s department. You can add or remove departments using the Staff module)
- Email (Enter the employee’s email address, if desired.
- Class to Apply to <div> Tag (This can be used to apply specific CSS styling to certain employees.)
Departments (optional)
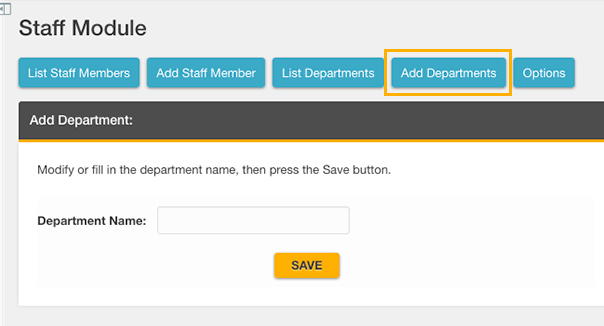
Click the “Add Departments” tab to add a department. Note: You do not need to add departments in order for the module to work. The option is available for clients who would like to have departments included. You can add the following information for each department:
- Department Name
Edit or Delete Employees
Edit an Existing Employee
- Go to the “List Staff Members” tab in the Staff module
- Click the green check mark icon next to the employee you want to edit
- Make desired changes
- Save
Delete an Employee
- Go to the “List Staff Members” tab in the Staff module
- Click the red “X” icon
- Click “OK”

Delete or Edit a Department
Editing or deleting a department is very similar to editing or deleting an employee:
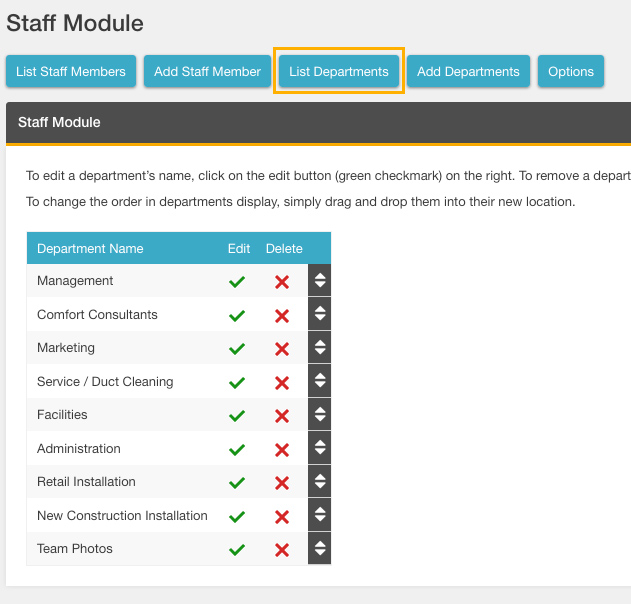
- Go to the “List Departments” tab in the Staff module
- Click the green check mark icon next to the department you want to edit, or click the red “X” icon next to the department you want to delete
- If any edits have been made to the department name, click Save. If you are deleting a department, click “Ok”
Sort Employees or Departments
Drag and drop
- While in the list view, employees and departments can be sorted by dragging and dropping them into the desired order
Sort by Last Name
- In the Staff module, go to the “Sort Options” tab
- Click “Sort by Last Name”
Sort by First Name
- In the Staff module, go to the “Sort Options” tab
- Click “Sort by First Name”
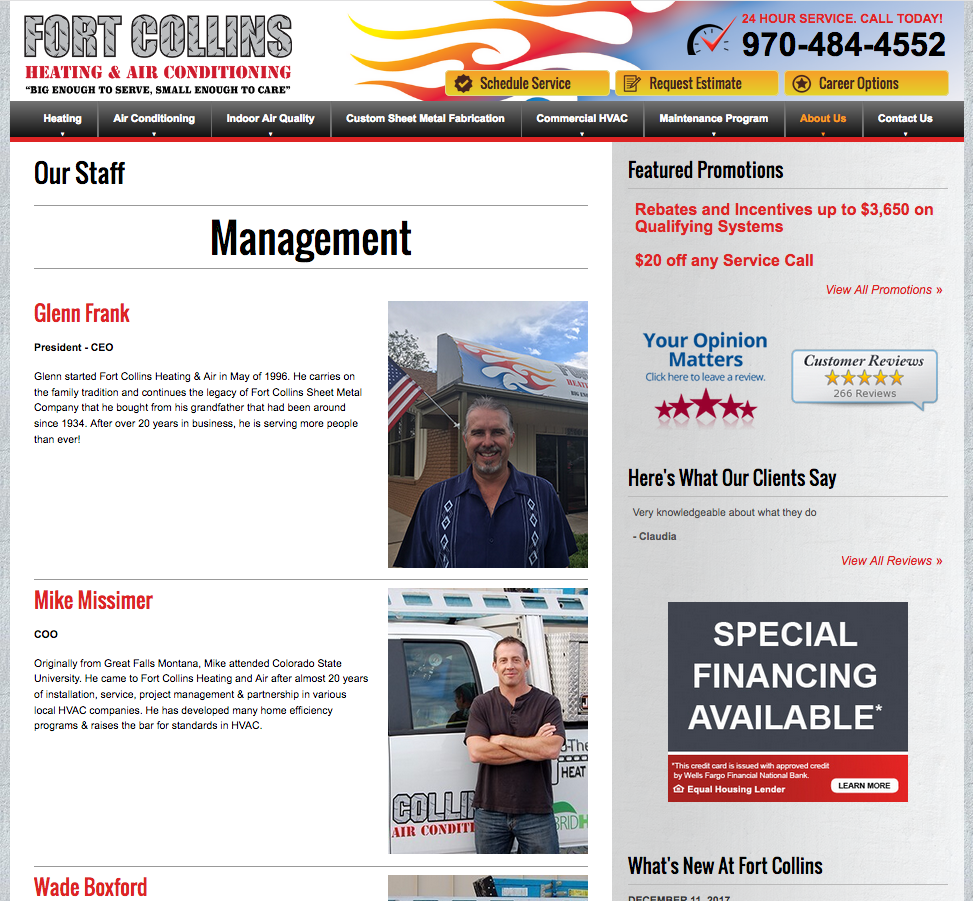
Sample Output
Standard Output
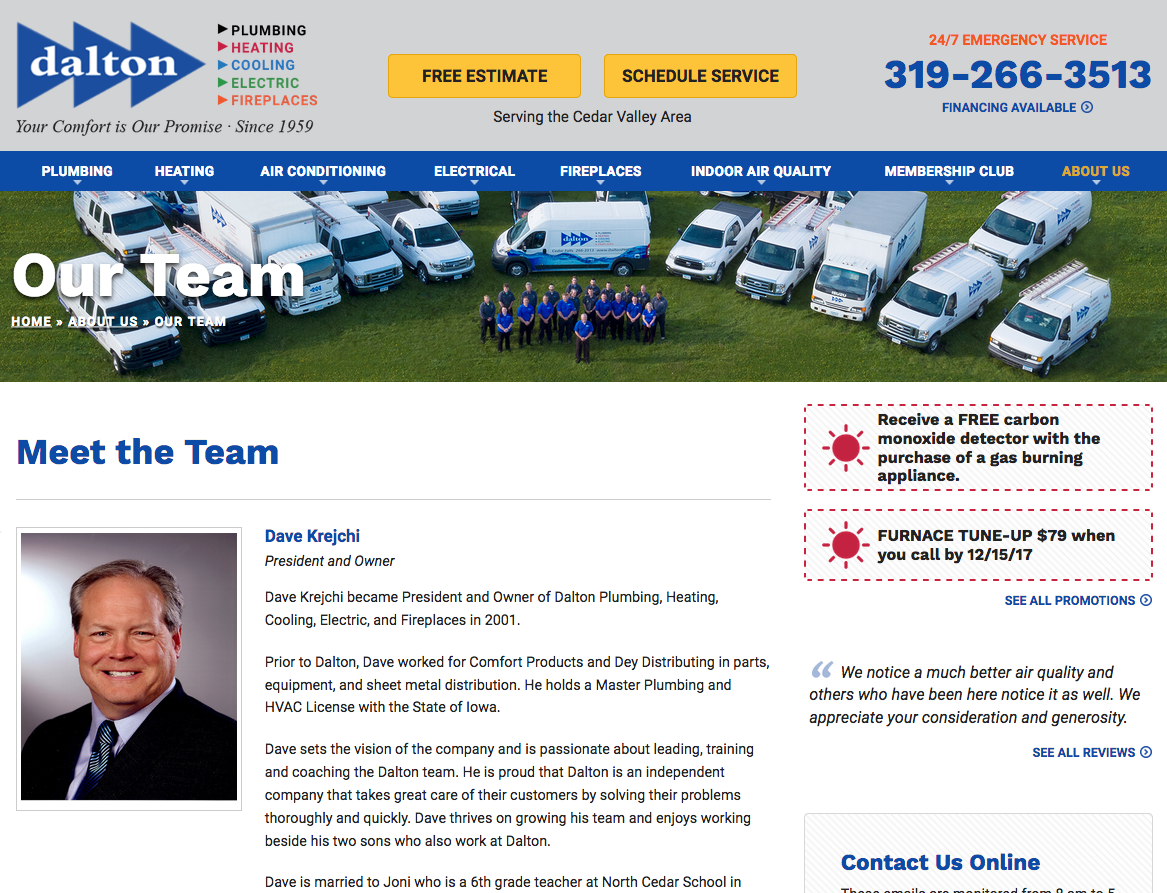
Department Mode Output
When enabled, this mode includes the department name above the staff members in that department as well as ordering the departments on the staff page by their order in the module. To enable “department mode”, please open a ticket to Development.
Last updated: